Purchasing a used RV can be an exciting yet daunting process, especially for first-time buyers. One of the most critical steps in buying a used RV is conducting a thorough inspection to ensure you’re making a sound investment. In this comprehensive guide, we’ll walk you through the process of inspecting a used RV, providing a helpful checklist to follow as you evaluate your potential purchase.
1. Understanding the Importance of a Used RV Inspection
Conducting a thorough inspection of a used RV is crucial for several reasons:
- Identify potential issues: A detailed inspection can reveal hidden problems, allowing you to make an informed decision about whether to proceed with the purchase or negotiate a lower price.
- Assess the overall condition: Evaluating the RV’s condition can give you a sense of how well it has been maintained, which can impact its longevity and future repair costs.
- Estimate repair costs: By identifying necessary repairs, you can estimate the costs involved and factor them into your budget and negotiations.
- Ensure safety: A proper inspection ensures that the RV is safe to use and meets all legal and safety requirements.
2. Preparing for the Inspection
Before diving into the inspection process, it’s essential to gather some tools and resources to help you along the way:
- Inspection checklist: Print or download a comprehensive inspection checklist to reference throughout the process (we’ll provide one in this guide).
- Camera or smartphone: Use a camera or smartphone to document any issues or concerns you find.
- Flashlight: A flashlight will help you see in dark or poorly lit areas.
- Measuring tape: A measuring tape can be useful for assessing dimensions and clearances.
- Notebook and pen: Take notes during the inspection to help you remember important details later.
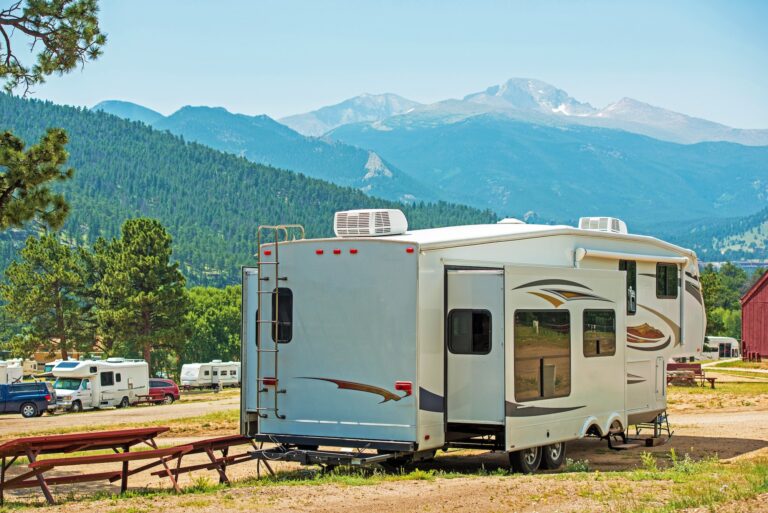
3. Exterior Inspection Checklist
Inspecting the exterior of the RV is a crucial first step in the process. Here’s a checklist to follow:
- Roof: Check for signs of water damage, leaks, cracked sealant, or damaged vent covers. Examine the roof material for cracks, punctures, or signs of deterioration.
- Walls and siding: Inspect the walls and siding for dents, cracks, or signs of delamination (separation of the exterior wall layers). Check for any signs of water damage or mold.
- Windows and doors: Ensure all windows and doors are in good working order, have intact seals, and close securely. Look for signs of water damage or moisture around the windows and doors.
- Slide-outs: If the RV has slide-outs, check for proper operation, seals, and alignment. Inspect the slide-out mechanism for signs of wear or damage.
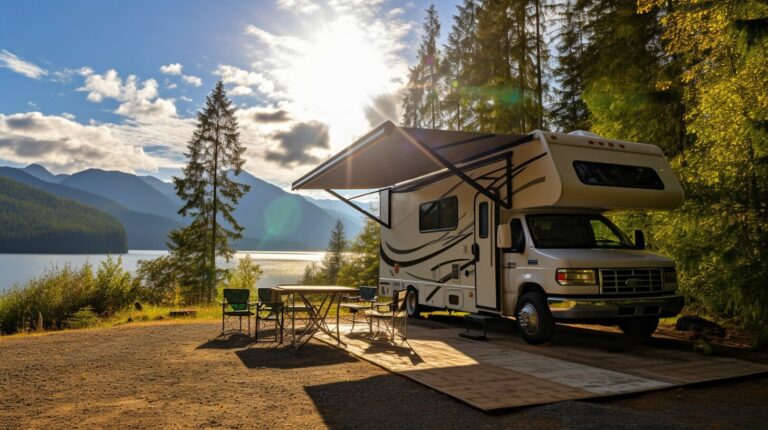
- Awning: Extend the awning to check for tears, stains, or signs of wear. Test the awning’s operation, ensuring it extends and retracts smoothly.
- Tires: Examine the tires for signs of uneven wear, cracks, or damage. Check the tire tread depth and manufacturing date (tires generally need replacing after 5-7 years, regardless of tread depth).
- Undercarriage: Inspect the undercarriage for signs of rust, corrosion, or damage. Check the condition of the axles, suspension, and brakes.
4. Interior Inspection Checklist
Once you’ve completed the exterior inspection, it’s time to move inside the RV. Follow this checklist for a thorough interior inspection:
- Flooring: Check for soft spots, cracks, or signs of water damage on the floors. Examine the condition of carpets, tiles, or other flooring materials.
- Walls and ceiling: Inspect the walls and ceiling for signs of water damage, mold, or mildew. Check for loose or damaged paneling, wallpaper, or trim.
- Cabinetry and storage: Open all cabinets and drawers, ensuring they operate smoothly and latch securely. Check for signs of water damage or wear.
- Furniture: Examine the condition of all furniture, including sofas, chairs, and dinettes. Check for signs of wear, stains, or damage.
- Appliances: Test all appliances, including the refrigerator, stove, oven, microwave, and air conditioner, to ensure they’re in good working order.
- Plumbing: Run water through all faucets, showers, and toilets to check for leaks, proper water pressure, and hot water availability. Inspect the condition of all pipes, hoses, and connections.
- Ventilation: Test all vents and fans for proper operation. Check for signs of water damage, mold, or mildewaround vent openings.
5. Mechanical and Electrical Systems Inspection Checklist
The mechanical and electrical systems of an RV are critical to its overall performance and safety. Here’s a checklist to ensure they’re in good working order:
- Engine and transmission: Check for leaks, oil levels, and signs of wear or damage. Start the engine and listen for any unusual noises, such as knocking or rattling.
- Battery: Inspect the battery and connections for signs of corrosion or damage. Test the battery’s charge and age (batteries generally need replacing after 3-5 years).
- Electrical system: Test all interior and exterior lights, switches, and outlets for proper operation. Inspect the electrical wiring and connections for signs of wear, damage, or overheating.
- Propane system: Inspect the propane tanks, lines, and connections for signs of leaks or damage. Test all propane appliances for proper operation.
- Heating system: Test the furnace and heating system for proper operation. Inspect the vents and ducts for signs of blockage, damage, or rust.
- Generator: If the RV has a generator, check for proper operation, hours of use, and signs of wear or damage.
6. Test Drive
Once you’ve completed the interior and exterior inspections, it’s essential to take the RV for a test drive. This will help you assess its overall performance, handling, and comfort. During the test drive, pay attention to the following:
- Acceleration and braking: Check for smooth acceleration and responsive braking. Listen for any unusual noises during these processes.
- Handling and steering: Evaluate the RV’s handling and steering, ensuring it feels stable and responsive.
- Suspension and ride comfort: Pay attention to the RV’s suspension and ride comfort over various road surfaces.
- Noise levels: Assess the noise levels inside the RV while driving, including engine, road, and wind noise. Listen for any rattles or vibrations.
- Odors: Take note of any unusual odors inside the RV during the test drive, which could indicate hidden issues.
7. Hiring a Professional RV Inspector
If you’re not confident in your ability to thoroughly inspect a used RV or if you’ve discovered issues that require further evaluation, consider hiring a professional RV inspector. A qualified inspector can provide an unbiased, expert assessment of the RV’s condition and help you make an informed decision. They can also provide you with a detailed report, which can be a valuable tool during negotiations.
8. Final Thoughts and Tips
Now that you’re equipped with a comprehensive checklist and the knowledge to inspect a used RV, here are a few final tips to help ensure you make the best possible decision:
- Take your time: Don’t rush the inspection process or allow yourself to be pressured by the seller. A thorough inspection can take several hours, so allocate enough time to do it right.
- Trust your instincts: If something doesn’t feel right about the RV or the seller, don’t be afraid to walk away. There will always be other RVs available.
- Negotiate: If you’ve discovered issues during the inspection, use this information as leverage to negotiate a lower price or have the seller address the problems before the sale.
- Consider the total cost of ownership: When evaluating a used RV, factor in costs such as insurance, financing, maintenance, and repairs, along with the purchase price.
- Enjoy the journey: Buying a used RV can be a rewarding experience, opening up new opportunities for travel and adventure. With a thorough inspection and some patience, you’ll be well on your way to finding the perfect RV for your needs.
By following this comprehensive checklist and guide, first-time buyers can approach the process of inspecting a used RV with confidence. By thoroughly evaluating the exterior, interior, mechanical, and electrical systems, you’ll be better prepared to make an informed decision and enjoy your new home on the road.